How to Render a Complex Scene without it Crashing
Often times when you're trying to render a really complex scene, you'll get a black render along with this lovely message:
This happens because you've tried to give Blender more than it can handle with your current hardware. BUT! Before you rush out to the store to drop 500 bones on a new graphics card, you may want to try using Render Layers.
Most people know about Render Layers, and you've probably even used them yourself. But did you know you can use them to break your scene up into smaller bite sized pieces?
Let's use this immensely complex scene as an example:
*computer commences heavy breathing*
This scene is a memory eating monster. Mercilessly devouring so much GPU memory, that not even my mighty 6GB Titan could render this beast all at once!
However, by using render layers I could break the scene up into something the computer could actually render.
Here's how to do it...
Walkthrough
Step 1. Split up the scene
The aim of this game is to break up the scene into smaller bite sized pieces that your GPU can compute without choking. So the first step is deciding how you can separate the elements.
I like use blocking (adding basic shapes) to determine how I'm going to separate the scene:
Once you've got a clear idea of how you're going to break up the scene, you can move on to the next step...
Step 2. Separate the elements into Render Layers
The 'Scene' boxes refer to what physical layers will render for the entire scene. In fact it really shouldn't even be here since it has nothing to do with render layers, and will just reflect what layers you've turned on in your 3d viewport.
The 'Layer' boxes are what physical layers will be included on the render layer. In my example, the first 5 layers are my foreground so I've selected that.
The 'Exclude' boxes are important. It's what should not be rendered on this layer (this should be the inverse selection of the layers selection). But unlike the Layers section, this is specifically telling Blender what to exclude from the memory calculation. Don't skip this step or the whole point of this (memory saving) will be wasted.
Do this for each render layer. Here's how all of mine looked:
Step 3. Enable Render Transparency
Because we're going to be compiling multiple renders over the top of one another, it's important that blender renders the background as completely transparent. Go to the Render tab > Film section > Check 'Transparent.
Step 4. Render it
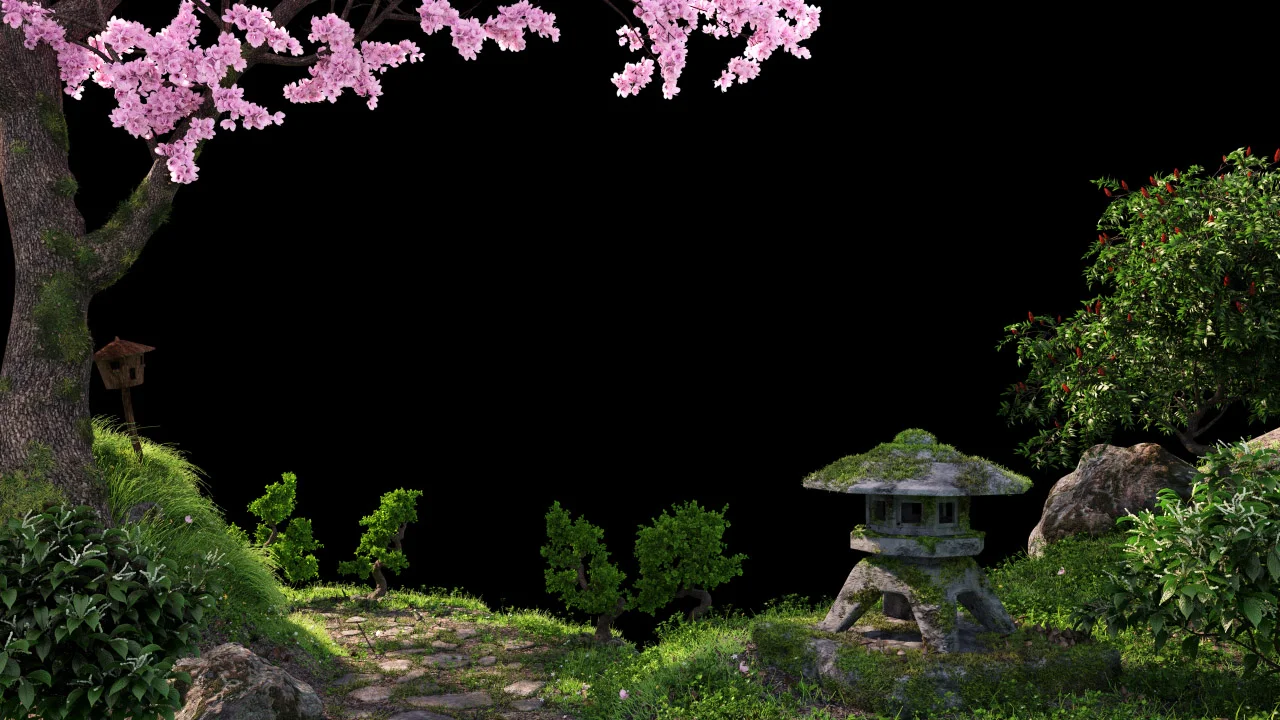
Don't be surprised if you only see one part of your scene like above. It's actually all there, blender is just showing only one finished render layer. In the next step we'll composite them together.
Step 5. Composite it.
Every render layer has a transparent background, so you can combine them by going to the Compositor and using the Alpha Over node.
Do this for as many render layers as you have:
Done!
So that's how you can render a complex scene on an average machine. Hopefully this walkthrough was enough to point you in the right direction for how to tackle those pesky monster scenes. Now go forth and win the memory battle!
Created by Rob Garlington, edited by Andrew Price.


